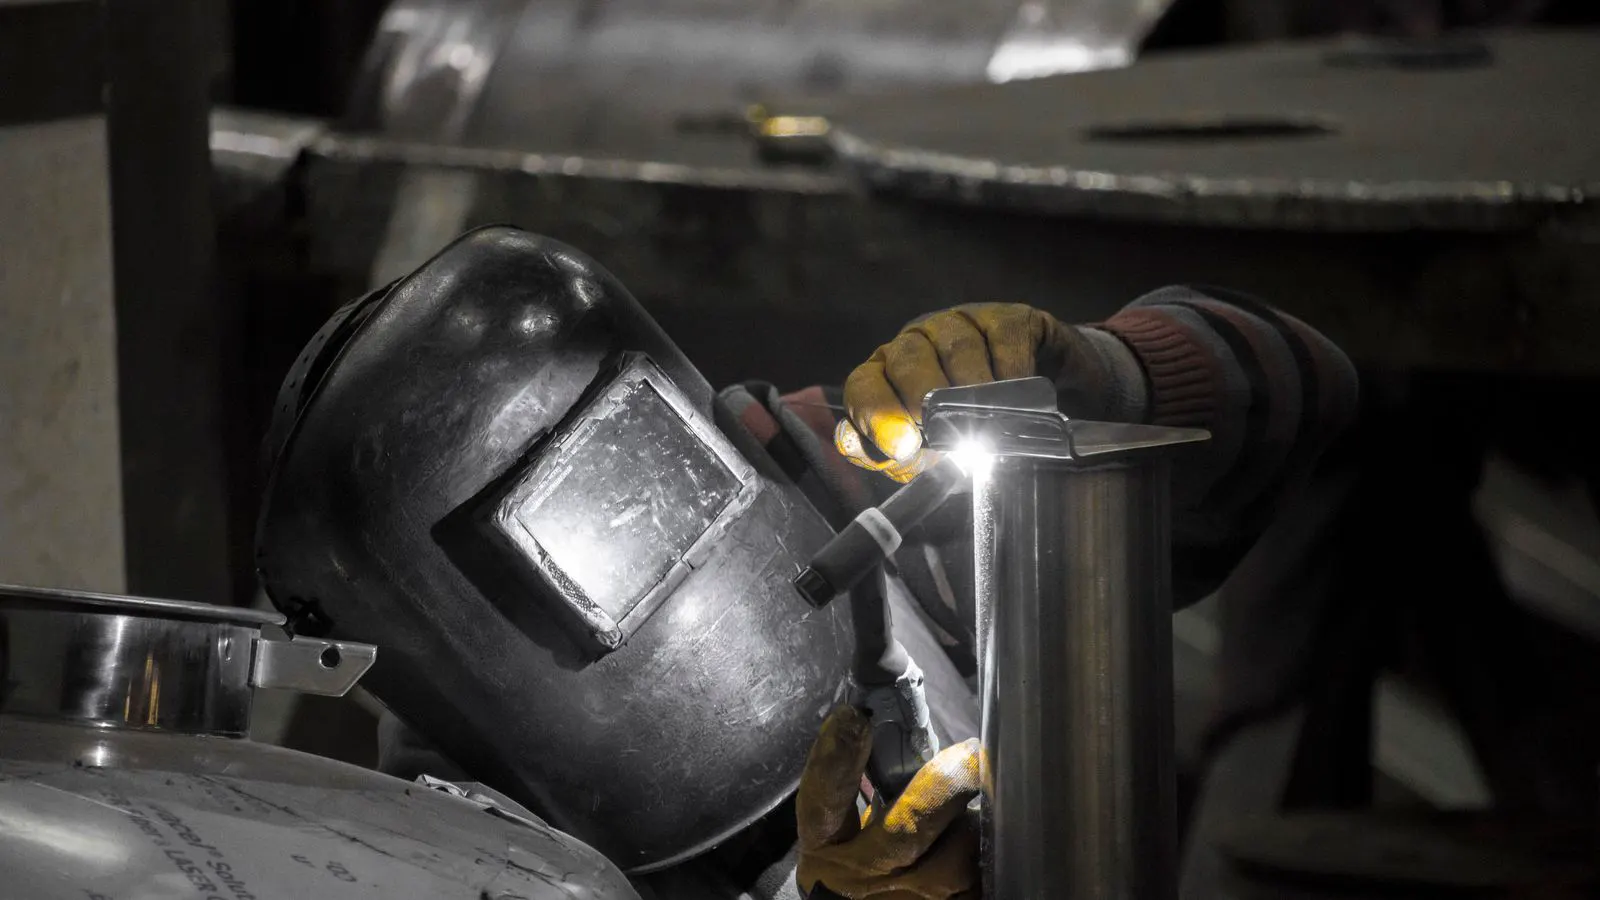
Aluminum welding preparation requires verifying surface cleanliness, proper joint fit-up, correct shielding gas, and compatible filler metal. This checklist helps you catch common errors before torch or MIG wire enters the joint, reducing the risk of porosity, cracking, and weak welds.
- Remove all oxidation, oil, and moisture before welding aluminum extrusions.
- Check joint fit-up and clamp position to prevent distortion and lack of fusion.
- Verify shielding gas flow and nozzle condition to avoid porosity.
- Use the correct filler metal and preheat only when the thickness and joint design require it.
Why Aluminum Welding Prep Fails
Most weld failures in extruded aluminum trace back to preparation, not torch technique. The metal is forgiving during the act of welding, but it punishes sloppy setup. Oxide contamination, trapped moisture, and poor fit-up create weak joints that may look acceptable but fail under load or thermal cycling. This checklist is for engineers, fabricators, and buyers who need to verify weld readiness before production starts.
The extruded profile adds a layer of complexity. Internal channels, fins, and thin walls trap heat and contamination. A joint that would be simple in a solid bar becomes a risk zone in a profile. Use these checks before the first bead is struck.
Surface Cleaning and Degreasing
Start with the joint faces and the 25 mm zone around them. Aluminum oxide forms quickly and conducts heat poorly. It also traps hydrogen, which leads to porosity. Use a stainless steel wire brush dedicated to aluminum. Do not use a brush that has touched steel. Steel contamination creates iron oxide inclusions that crack during cooling.
Degrease the area with a solvent approved for aluminum. Wipe with a clean lint-free cloth. The cloth should be fresh for each joint. Check the surface under raking light. Any visible shine, residue, or dark spot indicates contamination.
Red flags:
- A black or brown streak across the joint face after cleaning
- The brush wire becomes dull or discolored after one pass
- Solvent residue remains visible after drying
Joint Fit-Up and Clamp Verification
Measure the root opening before welding. A tight gap reduces filler metal consumption but increases the risk of burn-through on thin walls. A wide gap wastes filler and creates a concave groove that traps slag. For most extruded profiles, a consistent gap of 1 to 3 mm is a common starting point. Adjust based on wall thickness.
Clamp the joint to prevent movement. Use fixtures that do not touch the weld zone. Clamp pressure should be enough to hold position without distorting the profile. Extrusions can warp easily because of their geometry. A small shift during welding creates a lack of fusion at one end and a hot zone at the other.
Red flags:
- The joint gap changes from one end of the profile to the other
- Clamps are pressing against the weld zone
- The profile shifts when you release the clamps
Shielding Gas and Nozzle Check
Aluminum requires a high flow rate of shielding gas to protect the hot metal. The gas must be pure argon or a high-purity argon/helium mix. Moisture in the gas creates porosity. Verify the gas cylinder pressure and regulator settings. Check the nozzle for dirt, oil, or a blocked orifice. A blocked nozzle starves the weld pool of protection.
Listen to the flow. The sound should be steady and even. If you hear a gurgling or irregular hiss, there is a leak in the hose or regulator. Perform a bubble test on all fittings if the sound is inconsistent.
Red flags:
- Nozzle is clogged with flux or oil
- Gas flow is weak or irregular
- Cylinder pressure drops faster than expected during welding
Filler Metal and Preheat Selection
Use a matching or compatible filler metal. For most general purpose extrusions, a 5083 or 5183 compatible filler works. If the parent material is 6061, a 5356 filler is a common choice. If the parent material is 3003, a 3003 or 4043 filler is typical. Do not use a filler with a higher melting point than the base metal unless you have a specific reason.
Preheat is not always necessary. Thin extrusions often weld better without preheat. Thick sections or complex joints may require a low temperature preheat. Use an infrared thermometer to verify the surface temperature. Do not guess. A preheat that is too high reduces the weld strength and causes grain growth.
Red flags:
- Filler metal rod is coated in a heavy oxide layer
- The base metal is already hot to the touch before welding starts
- The filler is the wrong alloy for the application
Welding Sequence and Heat Control
Plan the sequence before you start. For long profiles, weld from the center toward the ends to manage heat. For multi-pass welds, start with the root and work up. Do not skip the root. A weak root causes the entire weld to fail.
Use a short arc length for MIG welding. A long arc increases the chance of porosity and spatter. For TIG, use a steady travel speed and a slight weaving pattern only when necessary. The extruded profile has thin walls. The heat input must be controlled.
Red flags:
- The weld pool is moving too fast, creating an uneven bead
- The weld pool is moving too slow, causing burn-through
- The bead is concave or convex in an inconsistent way
Post-Weld Inspection
After the weld cools, inspect the surface. Look for porosity, cracks, and undercut. A small amount of porosity is acceptable in non-critical applications. A line of porosity along the fusion line is not. Check the back side of the weld if accessible. Lack of fusion often shows up as a dark line or a gap on the back.
Use a dye penetrant test if the joint is critical. Apply the penetrant, let it dwell, wipe clean, and apply developer. Any indication of a crack or leak needs repair. Do not grind out a cracked weld without removing the entire heat affected area.
Red flags:
- A dark line visible on the back of the weld
- Porosity clusters in the center of the bead
- Undercut deeper than 0.5 mm
Quick Reference Table
| Check Item | Pass Criteria | Fail Criteria |
|---|---|---|
| Surface Cleanliness | No visible oxide, oil, or moisture | Dark streaks, dull spots, or residue |
| Joint Gap | Consistent 1 to 3 mm gap | Gap varies or is zero |
| Clamp Position | Holds joint without touching weld zone | Clamp distorts the profile |
| Gas Flow | Steady, even sound, no leaks | Gurgling, weak flow, or bubbles |
| Filler Match | Correct alloy for base metal | Wrong alloy or oxidized rod |
| Preheat | Verified with thermometer, only if needed | Guessing temperature or no preheat when required |
Common Mistakes in Extrusion Welding
Fabricators often skip the gap check because the profile looks straight. The extrusion may be straight, but the joint may not be. A small misalignment creates a high stress point. Also, the internal channels of an extrusion trap gas. If the joint is not sealed properly, gas escapes into the weld pool.
Another mistake is using the wrong brush. A steel wire brush is common in a shop, but it contaminates aluminum. Keep separate tools for each metal. The cost of a new stainless brush is low. The cost of a failed weld is not.
Finally, do not ignore the back side. If you cannot see the back, you are guessing. Use a back purge or a back gas if the joint is sealed. A back purge protects the inside of the profile from oxidation. Without it, the back of the weld may be weak even if the front looks perfect.
Final Verification Step
Before you light the torch or start the MIG gun, run the checklist one more time. Verify the gas flow, the filler, and the joint gap. Take a photo of the setup if you are working on a batch. If the first joint fails, the photo helps you identify what changed. Aluminum is sensitive to setup. A small change in gas flow or a dirty nozzle can ruin a whole batch.
The goal is not to make the weld perfect. The goal is to make the weld reliable. A well-prepared joint is easier to weld and easier to inspect. Use this checklist to standardize your process. Consistency is the best defense against failure.
Frequently asked questions
Can I weld aluminum extrusions without removing the oxide?
No. Aluminum oxide is non-conductive and traps hydrogen. It must be removed from the joint faces and the surrounding area before welding to prevent porosity and weak fusion.
What is the best shielding gas for welding extruded aluminum?
High-purity argon is the standard for most extruded profiles. A helium/argon mix is used for thicker sections to increase penetration. Always check the gas cylinder for moisture if you see porosity.
Do I need to preheat before welding thin extrusions?
Usually no. Thin walls do not need preheat and can burn through easily. Preheat is only used for thick sections or complex joints to reduce cracking risk.
What filler metal should I use for 6061 extrusions?
5356 is a common choice for 6061. It provides good fluidity and resistance to cracking. 4043 is also used but may have more porosity in some applications.
How do I check if a weld is strong?
Visual inspection is the first step. Look for porosity, cracks, and undercut. For critical joints, use a dye penetrant test or a non-destructive test method to verify the joint is sound.